

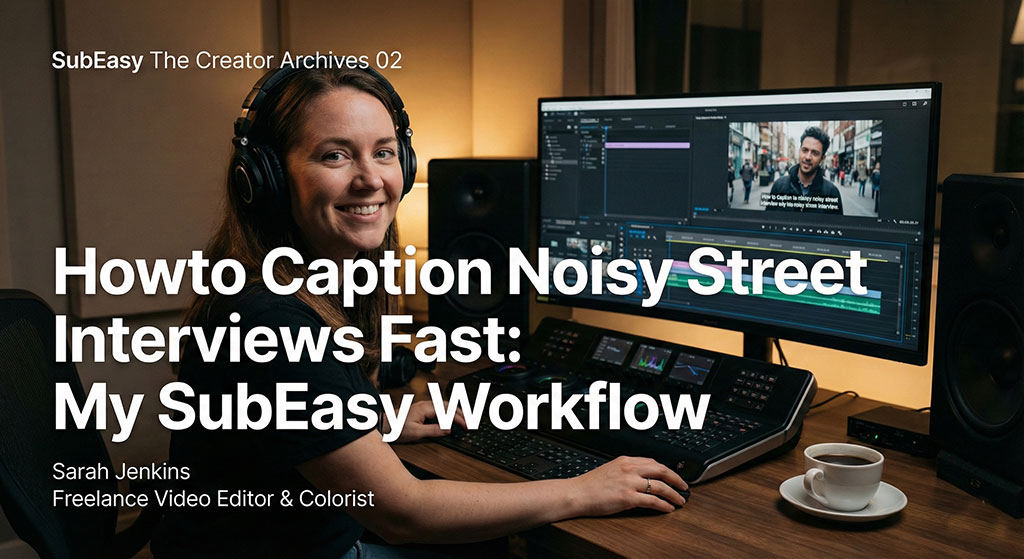
By Sarah Jenkins, Freelance Video Editor
Every freelance editor knows the dread. You receive a hard drive from a client labeled "Street Interviews - Raw." You open the project, drop the footage onto your timeline, and check the audio waveforms.
It’s a disaster.
Wind noise. Car horns honking. People shouting in the background. The subject's voice is buried under layers of city chaos.
The client’s request?
"Can you add accurate subtitles to all of these? We need it by tomorrow."
In the past, this meant hours of "listen, pause, rewind, guess, type." It was tedious, low-paying grunt work. But recently, I found a workflow that handles even the worst audio conditions using SubEasy. Here is how I turned a 4-hour nightmare job into a 30-minute task.
The Problem: "I Can’t Hear What They Are Saying"
Standard auto-captioning tools (like the ones built into some social apps) fail miserably when background noise is high. They hallucinate words or just leave blank spaces because they can’t distinguish the human voice from the bus driving by.
I needed a tool that didn't just transcribe, but actually listened better than I could.
Step 1: "Clear+" (The Secret Weapon)
This is the specific feature that sold me on SubEasy. When I upload my footage, I select the "Clear+" (Enhance the accuracy of your transcriptions, even in noisy environments.) option.
Unlike standard transcribers, this feature applies an AI audio cleaning pass before it attempts to turn speech into text. It filters out the wind rumble and the background chatter, isolating the speaker's frequency.
The difference is night and day. On my street interview footage, SubEasy captured about 95% of the dialogue correctly on the first pass—footage that other tools claimed was "unintelligible."
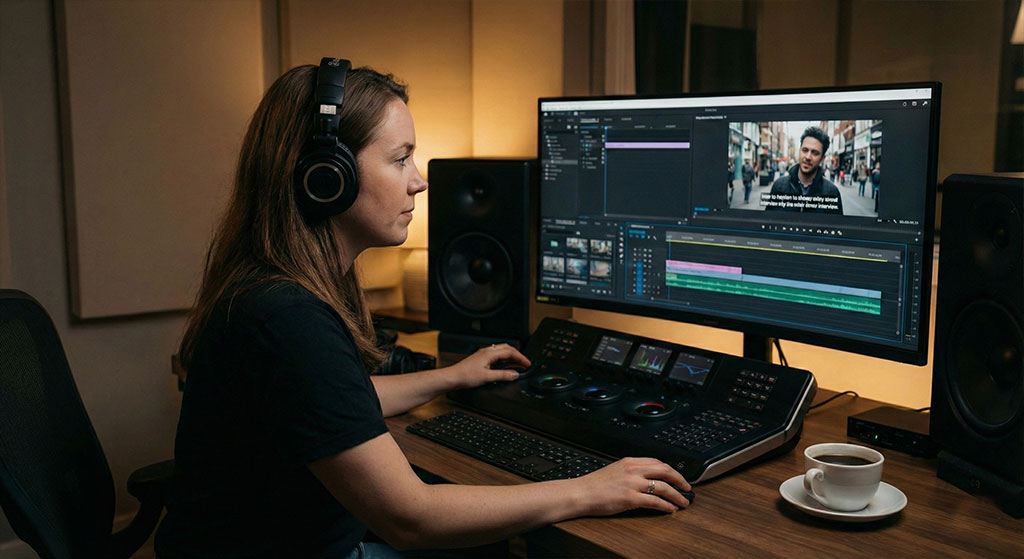
Step 2: Visual Subtitle Editing
Once the transcription is done, I don't export it immediately. I stay in SubEasy’s Subtitle Editor.
As an editor, I am picky about pacing. A subtitle shouldn't appear too early or linger too long. SubEasy allows me to:
- Adjust Breakpoints: I can split long sentences so they don't cover the subject's face.
- Sync Timeline: I can drag the edges of the subtitle blocks to match the exact frame where the speaker starts talking.
- Edit Text: If the AI missed a slang term, I can quickly type the correction.
The interface feels like a mini non-linear editor (NLE), which makes me feel right at home.
Step 3: Seamless Integration with Premiere & Final Cut
I don't burn the subtitles into the video inside SubEasy (though you can). As a pro editor, I need non-destructive files to use in my main software.
I simply hit Export and choose:
- SRT (for Premiere Pro)
- XML/VTT (for Final Cut Pro)
I drag the SRT file directly onto my Premiere Pro timeline. It lines up perfectly. Because I already did the heavy lifting in SubEasy, I don't have to manually adjust the timing in Premiere. I just apply my client's font style, and I am done.
The ROI for Freelancers
Time is money. Manually transcribing that noisy interview would have taken me roughly 3 to 4 hours of billing time (which clients hate paying for).
With SubEasy:
- Upload & Denoise: 5 minutes (Automated).
- Quick Review/Edit: 15 minutes.
- Export & Sync: 2 minutes.
I delivered the project faster, the subtitles were accurate despite the noise, and I saved my ears from listening to wind distortion on loop.
If you deal with "run-and-gun" footage or less-than-perfect audio, SubEasy isn't just a transcription tool—it is a production rescue tool.
Start Your Free Trial of SubEasy
"I wanted cinematic bilingual vlogs, but I didn't know how to use Premiere..."
In our next story, meet a Travel Vlogger who turned windy beach footage into a viral hit without touching complex editing software. Discover how she used SubEasy to kill the wind noise with "Pure Speech," auto-generate Bilingual Subtitles for her global fans, and apply Cinematic Animations—all within SubEasy. Direct export, zero hassle.
👉 Read Her Story: How to create pro-level vlogs without being a pro editor